How to Set Up Domain Key in NetSuite
Have you noticed emails generated from NetSuite gets sent from system@netsuite.com? The email will say xxxx@xxx.com on behalf of system@netsuite.com. This is because you have not set up Domain Key in NetSuite yet. Since the release of NetSuite 2018.v1, we noticed this being enforced by NetSuite. We want to share How to set up Domain Key in NetSuite so that your emails come from proper email address.
What you will need
Before you get started, make sure you have access to someone who can help you add new DNS Entry in to your domain provider such as Godaddy.com.
Step by Step Instruction
Let’s assume your email address is example@mydomain.com.
1. Log into NetSuite as Administrator.
2. Navigate to Setup > Company > Email Preferences
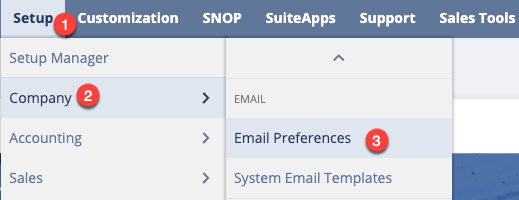
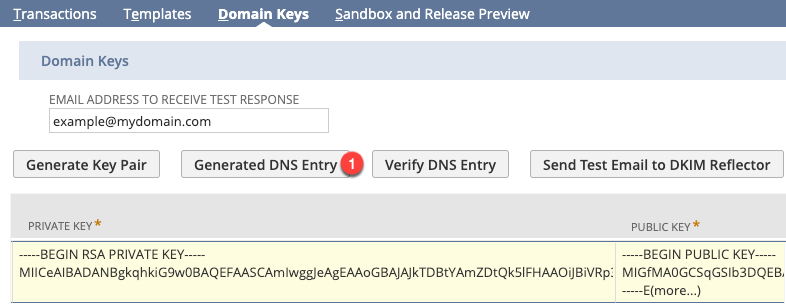
3. On email preferences page, click on Domain Keys subtab.
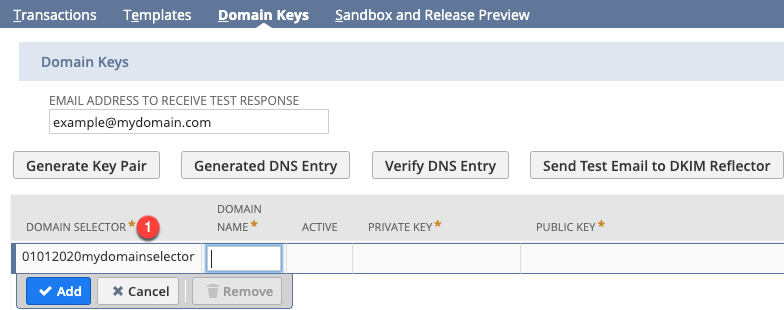
4. Change Email Address To Receive Test Response to YOUR email address. In this example, we will change to example@mydomain.com

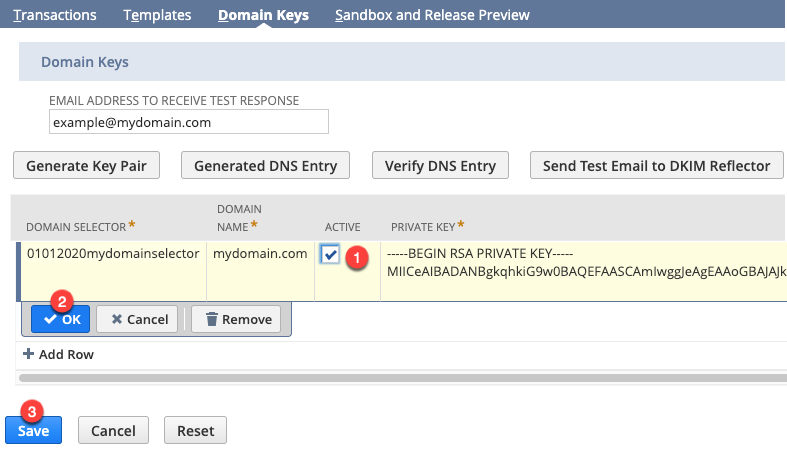
5. Set value for Domain Selector. Recommended naming convention is to use [DDMMYYYY][Company Name][selector]. In our example, we will use the value of 01012020mydomainselector.
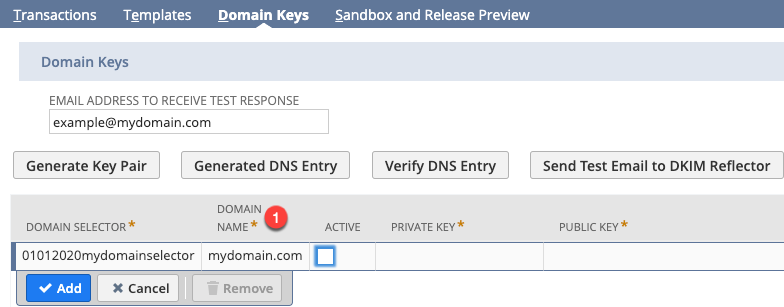
6. Set value for Domain Name. This is your domain. In our example, it is mydomain.com. Value that appears right side of @ character.
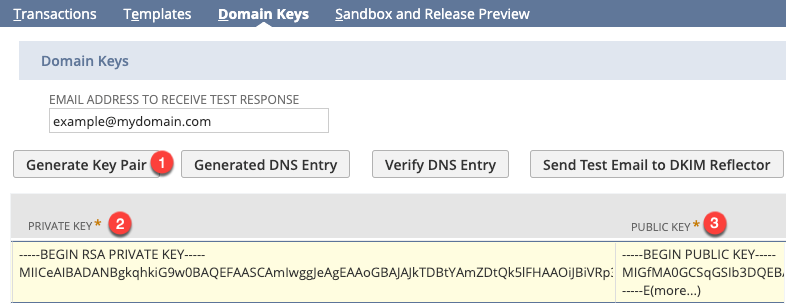
7. While you are on the line, click Generate Key Pair button. Once clicked, you will see Private and Public key column values fill in.
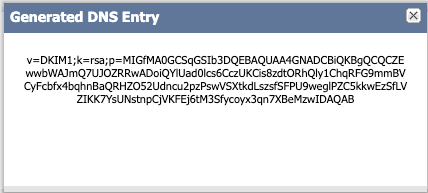
8. While you are on the line, click Generate DNS Entry button. Once clicked, you will see popup window with generated DNS Entry. COPY the entire string and set it aside. You will need this value to create new DNS Entry in your domain provider.
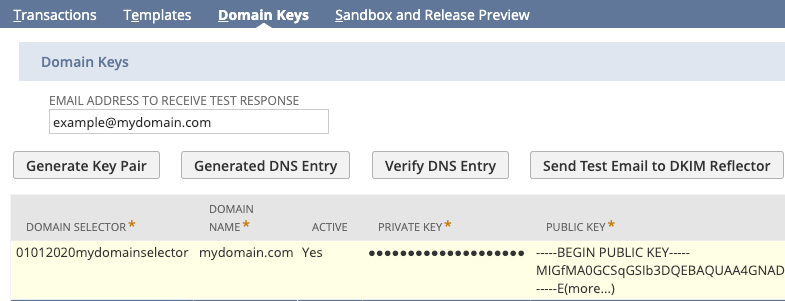
9. Next Mark the line as Active, Add the line and Save your email preference. When you go back to email preferences page, you see see screen shot similar to below.
10. This next step will involve requiring you to login to your domain provider. If you do not have access, you can ask your Network Admin. to set new DNS Entry for you.
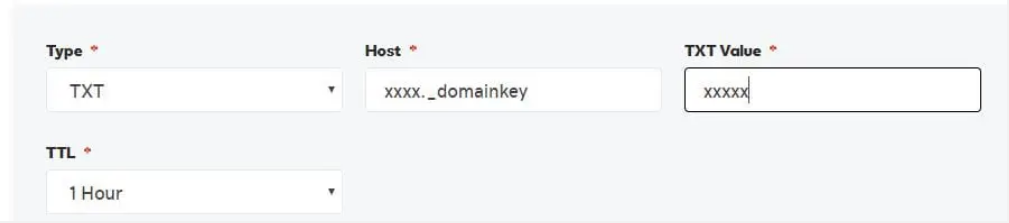
Type: TXT
– This will be text record value.
Host: 07072020mydomainselect._domainkey
– It is IMPORTANT that you add ._domainkey as static value after your domain selector value.
Value: [Generated DNS Entry you copied from step 8 above]Below is screen shot of sample DNS Entry in Godaddy.com
11. Once the DNS Entry is added in your domain provider, go back to your NetSuite and click Verify DNS Entry followed by Send Test Email to DKIM Reflector. You will receive different email notifications confirming your set up.
That’s it!!!! Once this is set up, all your emails generated from NetSuite will come through properly.
If you have any questions about setting up domain key in NetSuite or would like help in your organisation with NetSuite, please contact us at support@abvt.com.au.
Please also consider book-marking the AVT Support Services – your go-to resource to submit support tickets and access knowledge base articles. The AVT Support Services also contains a direct link to NetSuite’s system status page.
Kind regards,
AVT Business Solutions